
A trailer plate that fades, bends or carries the wrong information does more than look untidy. It can slow a roadside check, complicate workshop records, create confusion during a sale, or leave a fleet asset difficult to identify. Knowing how to design trailer identification plates means balancing the information required for the job with a material, marking method and fixing arrangement that will last in Australian conditions.
For transport operators, builders, plant hire businesses and fleet managers, the best plate is not the most complicated one. It is the one that remains legible after years of sun, vibration, road grit, washdowns and daily handling.
Start by defining the plate’s purpose
Trailer identification plates can serve several different functions. A fleet asset plate helps a business track trailers internally. A manufacturer or build plate may carry vehicle and construction details. A VIN or vehicle compliance plate may be required to meet specific regulatory or approval requirements. These are not interchangeable products, even when they are mounted in the same area of a trailer.
Before selecting a size or layout, establish exactly what the plate must do. Ask whether the information is for fleet control, customer identification, servicing, registration support, construction records or legal compliance. If the trailer must carry regulated data, verify the current requirements with the relevant Australian authority, manufacturer, engineer or compliance specialist before artwork is approved. A durable plate cannot correct inaccurate or incomplete data.
This early step also prevents a common procurement problem: ordering a generic asset plate when a project requires a purpose-specific compliance plate, or putting sensitive serial data on an external location where it can be damaged or altered.
Choose only the data that needs to stay with the trailer
A clear hierarchy makes a plate useful at the workshop gate, on site and during inspection. Put the information people need first at the top, use plain labels, and avoid squeezing every available detail into a small space.
For an internal trailer identification plate, the core fields often include the business name, fleet or asset number, trailer type, serial number and a contact number. Depending on the operation, it may also include tare mass, ATM, GVM where applicable, inspection references, ownership details, barcode or QR code, and a department or depot code.
For a manufacturer or compliance-related plate, data may include the manufacturer name, VIN, date of manufacture, model, vehicle category, axle or tyre details, rated capacities and other prescribed particulars. The exact field set depends on the trailer and the applicable approval pathway, so do not copy a layout from another vehicle without checking it is suitable.
Avoid overloading the plate with information that changes frequently. A phone number, fleet manager name or service interval can become outdated long before the plate wears out. Where information changes regularly, use a separate inspection tag, service label or database-linked barcode rather than permanently engraving every detail.
Design trailer identification plates for fast reading
A plate should be understood in seconds. That means the asset number, VIN or other primary identifier needs to be visually dominant, with supporting information arranged beneath it in a logical order.
Use a clean typeface with enough spacing between characters. Fine decorative fonts, compressed lettering and tightly packed rows may look acceptable on screen, but become difficult to read once the trailer is dusty or viewed at an angle. Mixed-case text is generally easier to read for labels and descriptions, while asset numbers and serials are usually clearer in upper case.
Size the plate around the data, not the other way around. A small plate might suit a simple fleet number and barcode, but a plate carrying multiple technical fields needs room for sensible character height and line spacing. Reducing everything to fit can make a compliant-looking design operationally useless.
Where a barcode or QR code is included, give it enough clear space around the code and test it under realistic conditions. A code that scans perfectly from a desktop printout may fail once it is small, dirty, scratched or mounted on a curved surface. If scanning is critical, retain the human-readable asset or serial number as a fallback.
Select materials for the actual environment
The trailer’s operating conditions should drive the material choice. A box trailer used occasionally around a metropolitan workshop faces a different risk profile from a plant trailer travelling unsealed roads, a galvanised boat trailer exposed to salt spray, or a mining support trailer working in intense UV and dust.
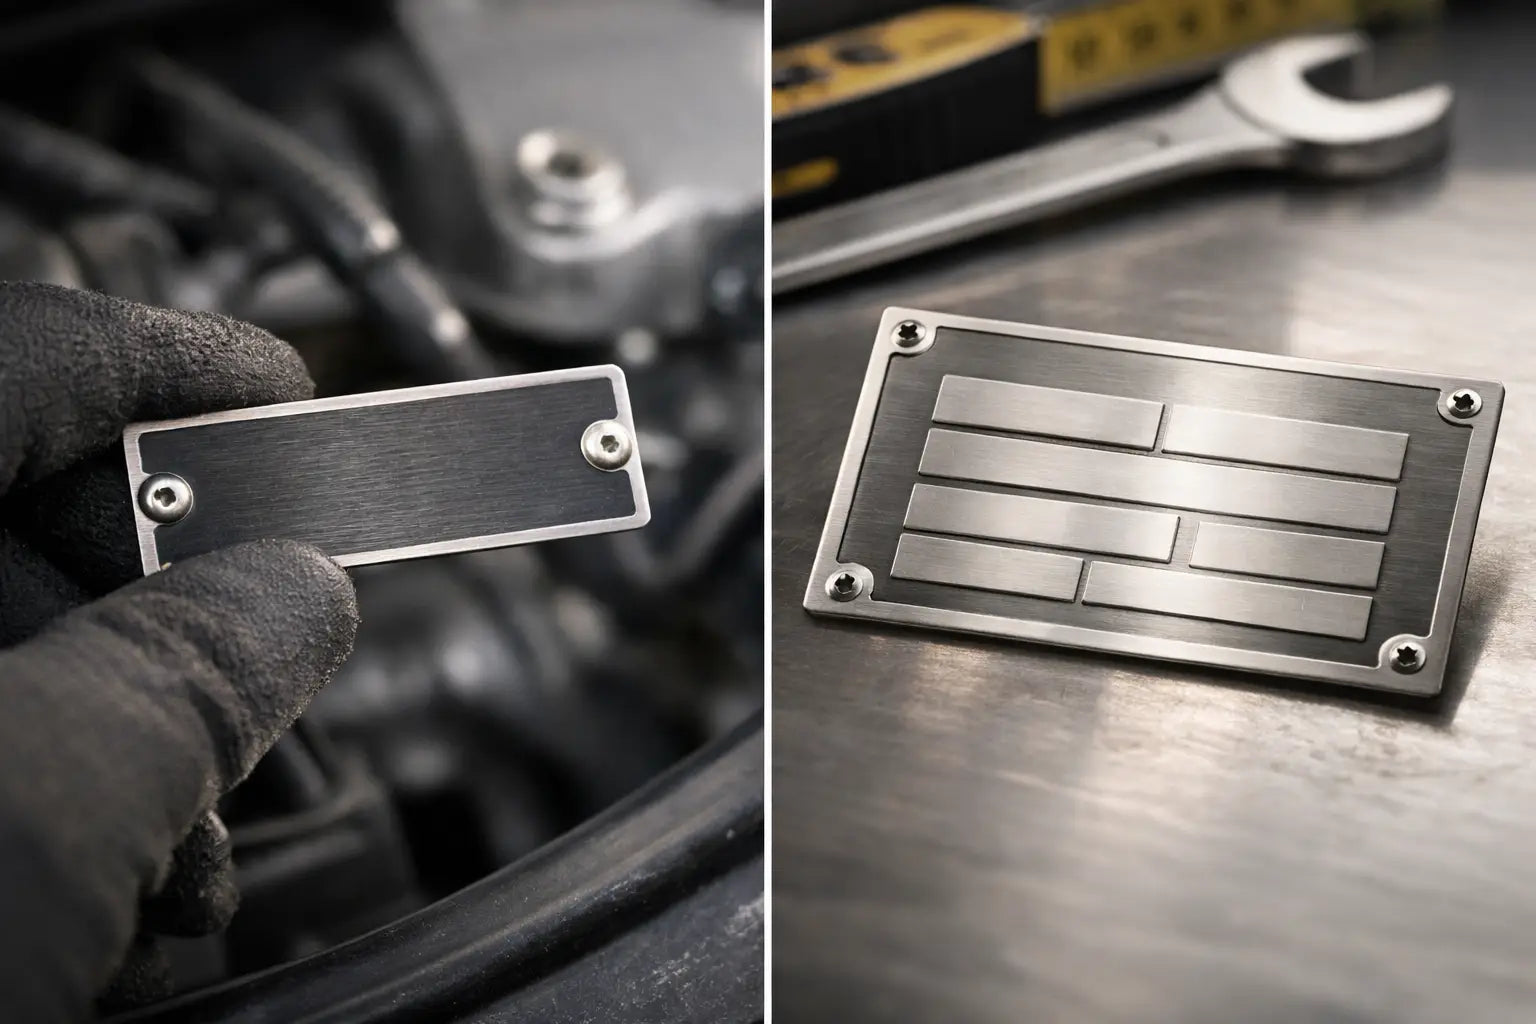
Metal plates are a practical choice where strength, permanence and a professional finish matter. Aluminium offers low weight and good corrosion resistance. Stainless steel suits harsher corrosive environments and applications where the plate may receive regular impact or washdown. Material thickness matters as well: a plate that is too thin can distort around fixings, while a heavier gauge may be unnecessary for a protected mounting location.
The marking method is equally critical. Deep engraving, laser marking, chemical etching and durable printing each have different strengths. For permanent technical data, engraved or etched information is often preferred because the characters remain readable even if the surface receives abrasion. Printed colour graphics can be effective for branding, safety messaging or visual grouping, provided the print system is rated for UV exposure and the expected cleaning chemicals.
Do not treat a standard indoor label as a substitute for an outdoor trailer plate. Heat, UV, diesel residue, mud and pressure washing expose weak materials quickly. Replacing failed labels is not just an inconvenience when a vehicle is off the road or an audit is due.
Plan the mounting location before production
A well-made plate can still fail if it is mounted where tyres throw stones at it, where a chain rubs across it, or where a hydraulic line blocks access. Identify the intended location while the trailer is being built or inspected, then confirm the plate dimensions and fixing method will suit that space.
Choose a flat, visible area that can be cleaned and read without removing equipment. The drawbar, A-frame, chassis rail, front bulkhead or inside a lockable toolbox may be suitable depending on the plate’s function. Compliance-related plates should be positioned only in locations permitted by the relevant requirements. Fleet-only plates can be placed where they are practical for your inspection and maintenance teams.
Mechanical fixing is generally the dependable choice for long-life metal plates. Rivets and tamper-resistant screws provide a secure attachment and make unauthorised removal more difficult. Adhesive backing can work on clean, prepared surfaces for lighter-duty applications, but trailers flex, vibrate and collect contaminants. It should not be assumed to be the best option for every plate.
Allow for dissimilar-metal corrosion when choosing fasteners. For example, mounting one metal to another in wet or coastal conditions may require suitable isolation or compatible hardware. Small installation decisions can determine whether a plate still looks serviceable two years later.
Build in security and traceability
Trailers are high-value mobile assets, and plates can support recovery and verification when they contain a unique, permanent identifier. Use an internal asset number that follows a consistent system across the fleet. A format such as location, asset class and sequential number can help staff recognise what they are looking at without relying on a separate spreadsheet.
For higher-risk assets, consider combining a visible plate with a secondary hidden identifier. The visible plate supports daily checks; the secondary marking can assist with ownership verification if the primary plate is damaged or removed. This approach works best when the identifiers are recorded accurately in the asset register, along with photos and the plate location.
If you use QR codes, link them to information that is controlled by your business. The code should help authorised workers access current records, not become a dead end when a staff member changes roles or a third-party platform is no longer used.
Approve artwork like a compliance document
Treat the final artwork as a controlled record. Check every digit in the VIN, asset number, date, rating and contact detail against the source documents. It is far cheaper to correct a proof than to drill out and replace a batch of finished plates.
Before production, confirm the plate size, material, corner radius, hole positions, text size, marking method and required quantity. If trailers vary across a fleet, identify which fields are fixed and which fields are variable. This allows a supplier to produce a consistent design while accurately personalising each plate.
A sample is worthwhile when the application is new, the plate will face extreme conditions or the information layout is dense. Fit it to the trailer, check it from normal standing distance, test any barcode, and make sure the fixings do not interfere with chassis components or existing labels.
Make durability part of the specification
The strongest specification is specific about the job. Rather than requesting “metal trailer plates”, describe the environment, mounting surface, information required, preferred dimensions, quantity, artwork format and deadline. Include whether the trailers see coastal exposure, high-pressure washing, abrasive dust, heavy vibration or full-time outdoor storage.
That gives the supplier enough detail to recommend a plate that is fit for purpose, rather than simply matching a catalogue image. Prime Tags can help turn those requirements into durable, custom trailer plates made for demanding Australian worksites.
A correctly designed plate should reduce questions, not create them. Keep the information accurate, make the primary identifier easy to find, select materials that suit the conditions, and install it where it can do its job for the life of the trailer.